All that aside, I had fun wearing this! So, here's the how.
Gamora's costume consists of a one-piece open sided jumpsuit, a mesh tank top, boots, knee guard pad cover things, a collar, belt and holster (or, at least, holster-type thing) and guard/gauntlet type arm bands. Those were tricky. More on that later.
The jumpsuit itself was the easiest part. I wasn't really sure how to make the pattern initially, so I just put on a tight fitting tee and drew the pattern on one side and then cut it out.
 |
| I drew out the whole top part, but I only defined and cut out one half. |
 | |
| Here it is flat, with the back on the left and the front on the right. I put the back part on the fold of the blue fabric and then cut one big piece and sewed it at the shoulders and front. |
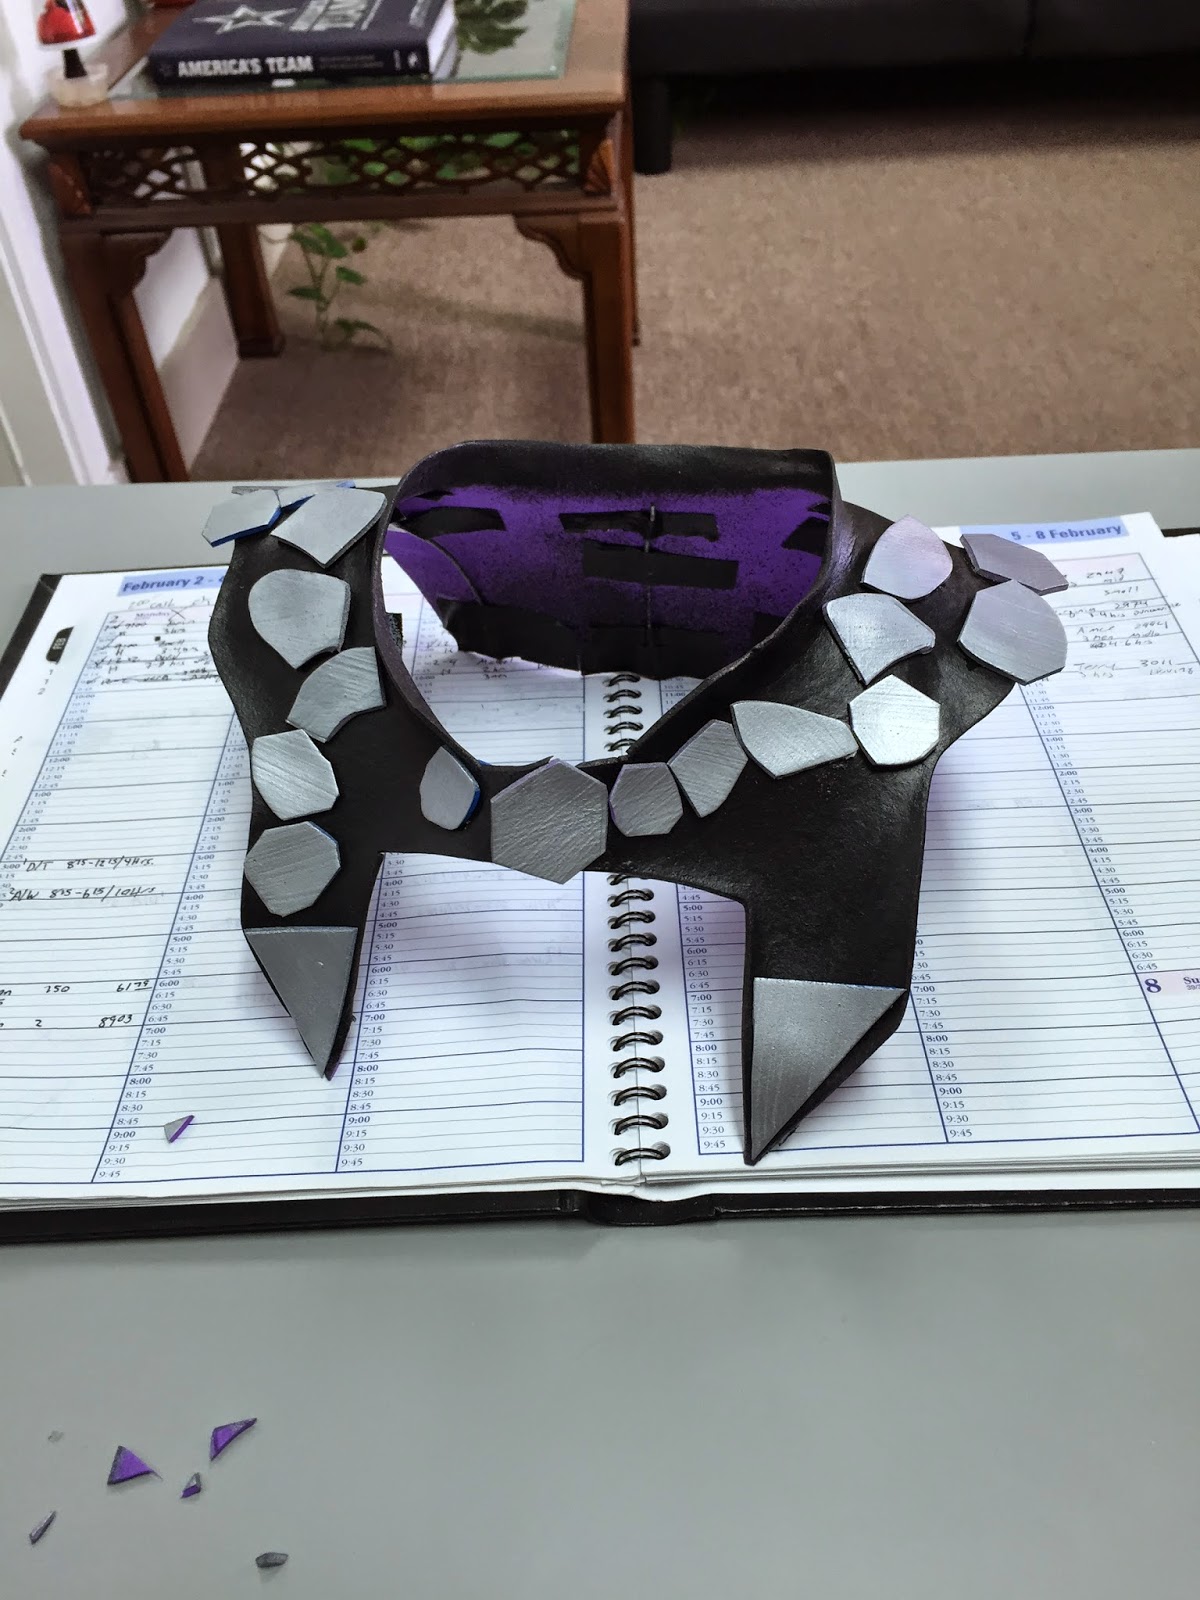
I made Gamora's collar and holster both from fun foam (I think fun foam may be a defunct brand name because no one ever knows what I mean by that. I'm talking about that thin craft foam.)
 | |
| This is the rough outline of the collar |
 |
|
I cut it out and heated it with a
heat gun and molded it over my body double. It's not as complicated as it
seems, I promise!
|
Okay, I'm going to do my best to describe this. I didn't have any sort of pattern, I had to completely wing it when it came to these. Basically, I wrapped canvas around my arm and marked a thumb hole. Then, I marked long, tapered strips, long enough to wrap around my arm two or three times. They pass through slits at the base of the brace. I have a vague recollection of long ago seeing something like a medical brace with a similar construction? I don't remember exactly what but if you know what I'm talking about it will help you visualize this. Then I added the blue contrasting fabric and buckles to hold the tapered ends in place, and a snap on the inside to hold the thumb flap down.
 |
| The cords around her leg kept slipping. I solved this by making two narrow bands of shelf liner to put under the cords. They didn't move all day! |
For her wig, I harvested wefts from a pink wig that I had and just sewed them along the hairline. Since the pink wefts are about the same length as the brown, I think I'll need to trim the brown a little. Theres a few pics where you can't see the pink at all!
So that's that. I'm sure I'm missing a few things but I covered the important bits!


No comments:
Post a Comment